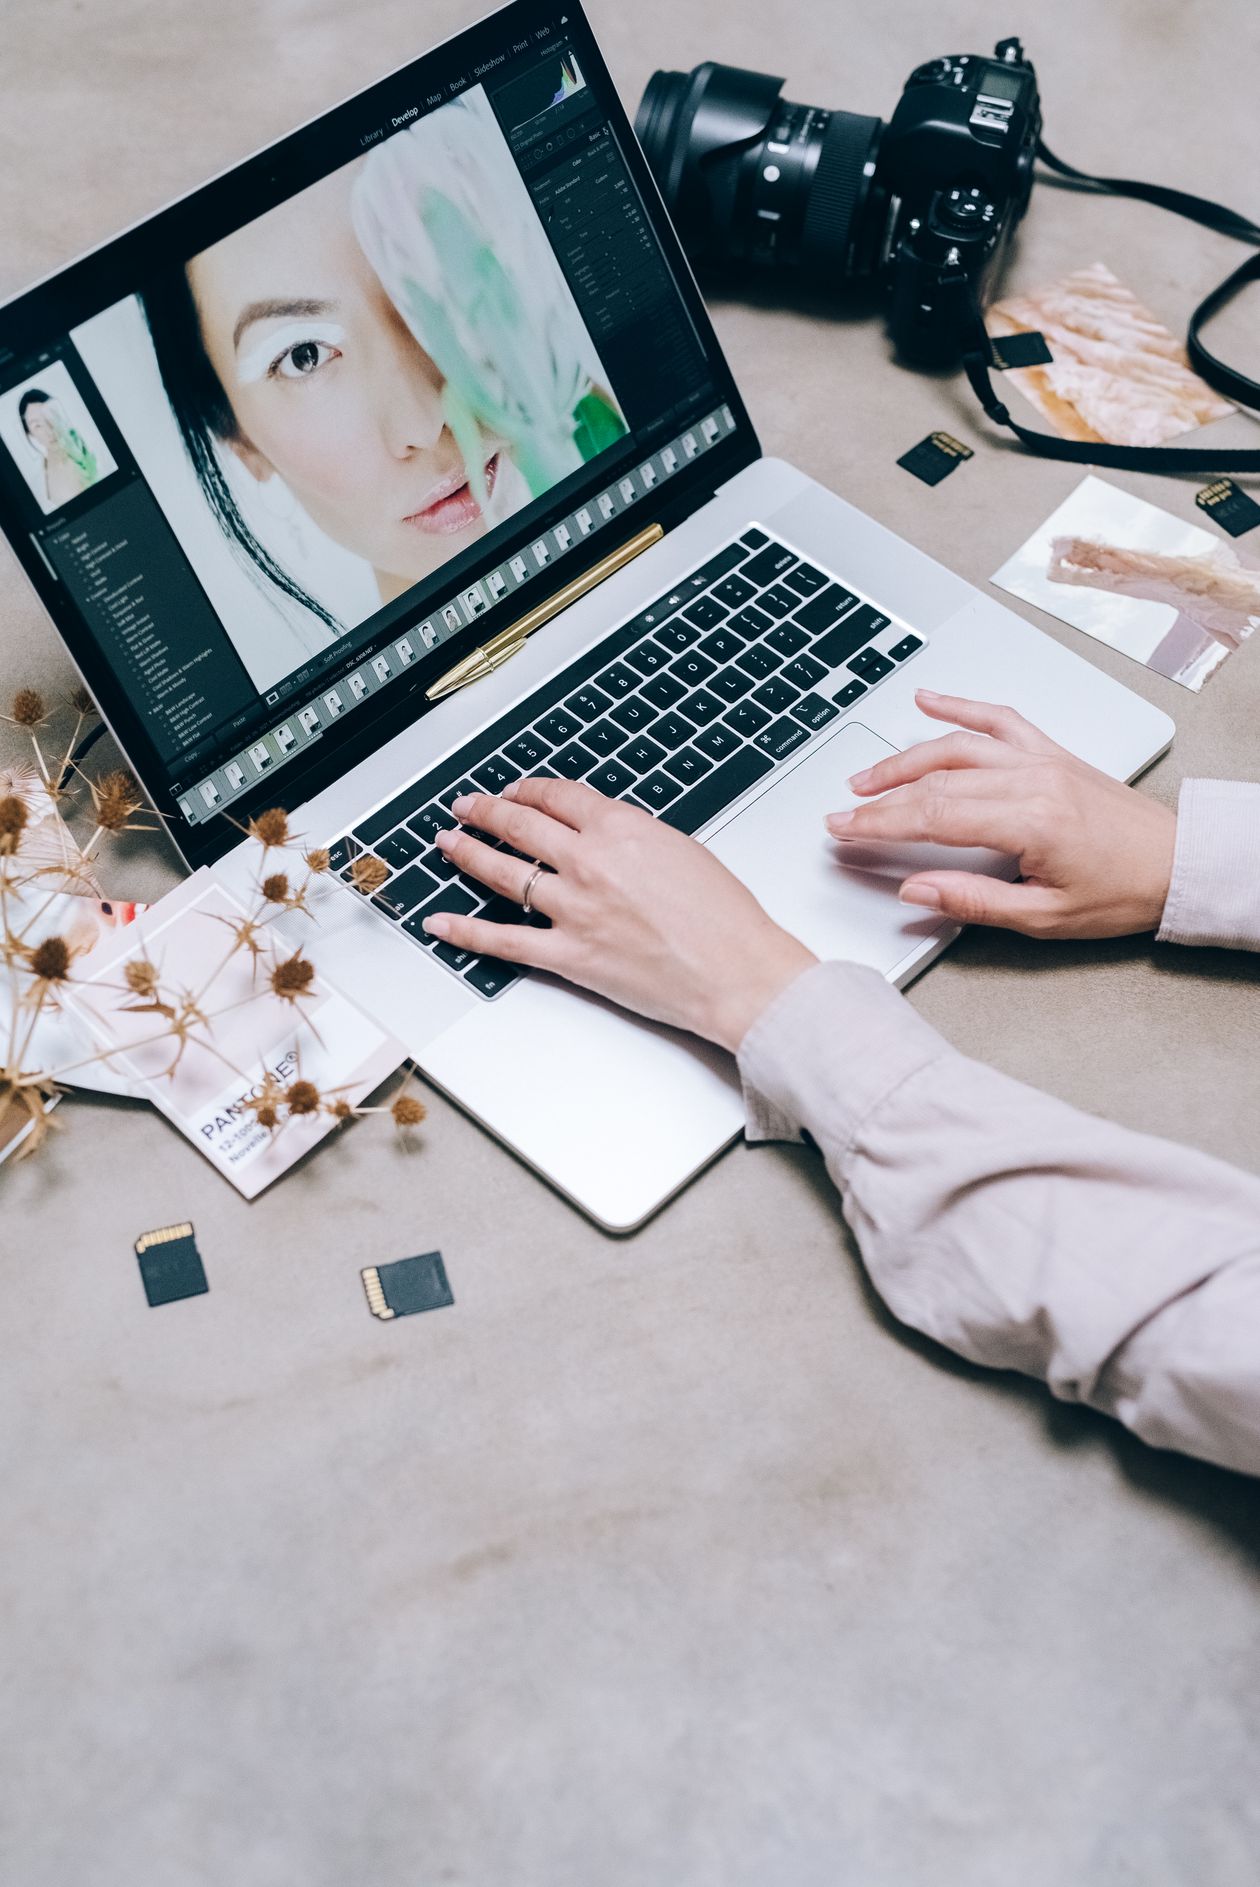
Start with the order, because order is the skill
Photo editing advice usually tours the tools. Tools are not the hard part; order is. Edits interact: a filter applied before a crop wastes the crop, sharpening before resizing invents artifacts, and upscaling an unedited photo enlarges its flaws. This guide teaches one routine in the order professionals converge on, runs a single photo through it completely, then gives the per-job shortcuts. If you have never used Canva, the base guide covers the editor; here we live inside one photo's Edit panel.
| Your situation | Your photo job | Your shortcut |
|---|
| A dull travel or family photo | The full routine below | Steps 1 to 5, skip 6 unless something must go |
| A product shot for a listing | Routine plus background work | Steps 1 to 6, Background Remover decision included |
| A headshot or profile photo | Gentle version of the routine | Sliders at half the suggested moves, no filters |
| A photo with an unwanted object or person | Eraser-first variant | Step 6 early, then the routine on the cleaned photo |
| You are on the free plan | Everything except the marked Pro steps | The free versus Pro line is drawn per step |
Step 1: Crop first, always
Open the photo in your design (or as its own design) and crop before touching any adjustment. Decide the shape the photo must serve (the post size, the listing's ratio, the frame it sits in) and crop to it, using the rule of thirds grid Canva shows: subject on a third line, horizon level (straighten in the same motion; a tilted horizon is the most common amateur tell). Cropping first means every later edit applies to the pixels that will actually ship, and composition, the strongest edit of all, is settled while you are freshest. Resize the design, not the photo, if the destination changes later.
Step 2: Auto-adjust, then judge it honestly
Click Edit, then Adjust, and run Auto-adjust (the magic wand style control in the adjust panel). Canva's automatic pass fixes exposure and white balance competently on most snapshots. Then judge it like an editor, not a fan: auto passes tend to over-brighten and over-saturate. If the result looks like a postcard of your photo rather than your photo, undo and go manual in step 3; if it looks like your photo on a good day, keep it and refine lightly. Either way, you now know what the photo needs, because you have seen one version of corrected.
Step 3: Manual sliders, in this order
Work the Adjust sliders top to bottom in the panel's logic, small moves, checking the photo at full size between them:
- Brightness and contrast for the overall exposure shape. Fix the light first; color edits on a badly exposed photo chase their tail.
- Saturation and vibrance for color strength. Prefer vibrance, which protects skin tones; saturation boosts everything including the things that were already loud.
- Temperature and tint for white balance: warm the photo that looks blue and clinical, cool the one that looks orange from indoor bulbs.
- Highlights and shadows (where your panel offers them) to recover detail: shadows up for faces lost in shade, highlights down for blown skies.
- Sharpness and clarity last and lightly. Sharpening is seasoning; a photo that crunches has been ruined at the final step.
The discipline is restraint: most good edits are three sliders moved modestly. If you are moving everything to extremes, the photo's problem is composition or light at capture, and the honest fix is a different photo.
Step 4: Filters at half intensity, and the foreground trick
Filters in Canva's Edit panel are one-click looks, and their default intensity is almost always too much. Apply the filter that fits the mood, then drag its intensity to about half. The photo should look like itself on its best day, not like a filter advertisement. For portraits and product shots, use the panel's ability to adjust the foreground and background separately where offered: warm and brighten the subject slightly, cool or darken the background slightly, and the subject separates from the scene in a way viewers feel without naming. This separation, not filters, is what makes phone photos look like camera photos.
Step 5: Background Remover and Magic tools, the Pro line drawn exactly
Background Remover (paid plans) cuts the subject out in one click: product shots onto clean backgrounds, headshots onto brand colors, thumbnail subjects onto bold designs. It is the photo feature most worth paying for, and the free guide covers the workarounds honestly. Magic Eraser removes unwanted objects: brush over the photobomber, the trash can, the stray cable, and the fill is usually invisible at post sizes. Magic Edit changes content: brush a region and describe its replacement, for swapping a product's color variant or fixing a wrong detail. These three draw from the AI allowance on applicable plans and are mapped against the rest of the suite in the Canva AI guide. Order note: do removal and edit work after adjustments, on the corrected photo, so generated fills inherit the right light and color.
Step 6: Upscale once, and check it against the original
Canva's image upscaler (in the apps and edit tools) enlarges small photos for print or large displays. The rule is once only: upscaling an upscale compounds invention, and AI enlargement invents detail that looks plausible at a glance and wrong at print size. Upscale the best original you have, at the end of the routine, then compare side by side at 100 percent zoom, especially faces, text, and edges. If the upscale invents waxy skin or melted lettering, ship the smaller original at a smaller display size instead; a small honest photo beats a large synthetic one wherever trust matters.
The worked photo, start to finish
A market stall photo for a shop's post: dim, tilted, a stranger's shoulder at the left edge, colors flat. Crop: to square, horizon leveled, shoulder cropped out entirely (the cheapest eraser is a crop). Auto-adjust: close, slightly hot; kept as the base. Sliders: brightness down a touch, vibrance up moderately, temperature warmed slightly, shadows lifted so the produce in shade reads. Filter: a warm food-friendly look at 40 percent intensity. Background at one notch darker than the foreground stall. No upscale needed at post size. Total time, four minutes; the photo now looks like the stall on its best morning, which is the entire ethical and practical brief of photo editing for a business.
Per-job shortcuts
Product shot: routine, then Background Remover onto white or your brand background, shadow added under the product with a soft element so it does not float, saturation modest (buyers punish color lies with returns). Headshot: crop generous, sliders at half strength, no filter, skin left human. Dull landscape: crop and level, vibrance before saturation, highlights down for the sky, clarity a touch up. Screenshot or document photo: skip filters entirely; brightness, contrast, sharpness only, and upscale once if text must print. And when the photo you need does not exist at all, that is generation's job, taught in the AI image generator guide, not editing's.
Saving your look: presets you build yourself
Canva does not offer a personal preset library the way desktop editors do, so build the habit manually. When a photo's edit pleases you, write its slider values and filter intensity into a note in your Assets folder (the folder pattern from the base guide), named by the job: "Market stall look: vibrance +18, temperature +6, warm filter at 40". The next photo in the series starts from those numbers instead of from memory, and a feed or a catalog edited to one recipe reads as intentional even when individual photos differ wildly. For a recurring series, go one step further: duplicate the first finished design and swap its photo, inheriting every adjustment context, then re-run only the sliders the new photo needs. Consistency in photo editing is mostly bookkeeping, and bookkeeping is a system, not a talent.
Related guides
Frequently asked questions
What is the correct order for editing a photo in Canva?
Crop and straighten first, then Auto-adjust as a starting point, then manual sliders in order (brightness and contrast, saturation and vibrance, temperature and tint, highlights and shadows, sharpness last), then a filter at about half intensity if you use one, then removal or AI edits, and upscale once at the very end if you need it. Order matters because later edits build on earlier ones.
Which Canva photo tools are free and which are Pro?
The core Edit panel, adjustments, filters, crop, and effects, is free. Background Remover is a paid-plan feature. Magic Eraser and Magic Edit are AI tools governed by plan allowances, and the upscaler's availability and limits vary by plan. The free guide on this site lists the honest free workarounds for background removal.
How do I make a photo look professional without over-editing?
Restraint and separation. Move few sliders, modestly; prefer vibrance over saturation; apply filters at half intensity; and adjust foreground and background slightly apart so the subject stands out. Zoom out and compare with the original often: if the edit is the first thing you notice, it is too much.
Can Canva fix a blurry photo?
It can improve perceived sharpness modestly and upscale small images, but it cannot recover detail that was never captured. A genuinely blurred photo stays blurred; sharpening adds edge contrast, not information. Use the best original available, upscale once at the end if needed, and display at a size the photo can honestly support.
How do I remove a person or object from a photo?
Use Magic Eraser: select the photo, open the edit tools, brush over the object, and let Canva fill the space. It works best on simple backgrounds (sky, walls, ground) and at post sizes. For a subject at the frame's edge, try cropping them out first; a crop is instant, free, and never invents pixels.
Should I edit photos inside a design or as separate designs?
Edit inside the design when the edit serves that design's size and mood, which is most of the time, because crop and color decisions depend on context. Edit as a separate design when the same edited photo will serve many designs, like a product master shot; then upload or duplicate the finished version into each project so the work is done once.
Photo credits: Leeloo The First (Pexels). Photos are served from this site; follow the credit to the library page for the original.