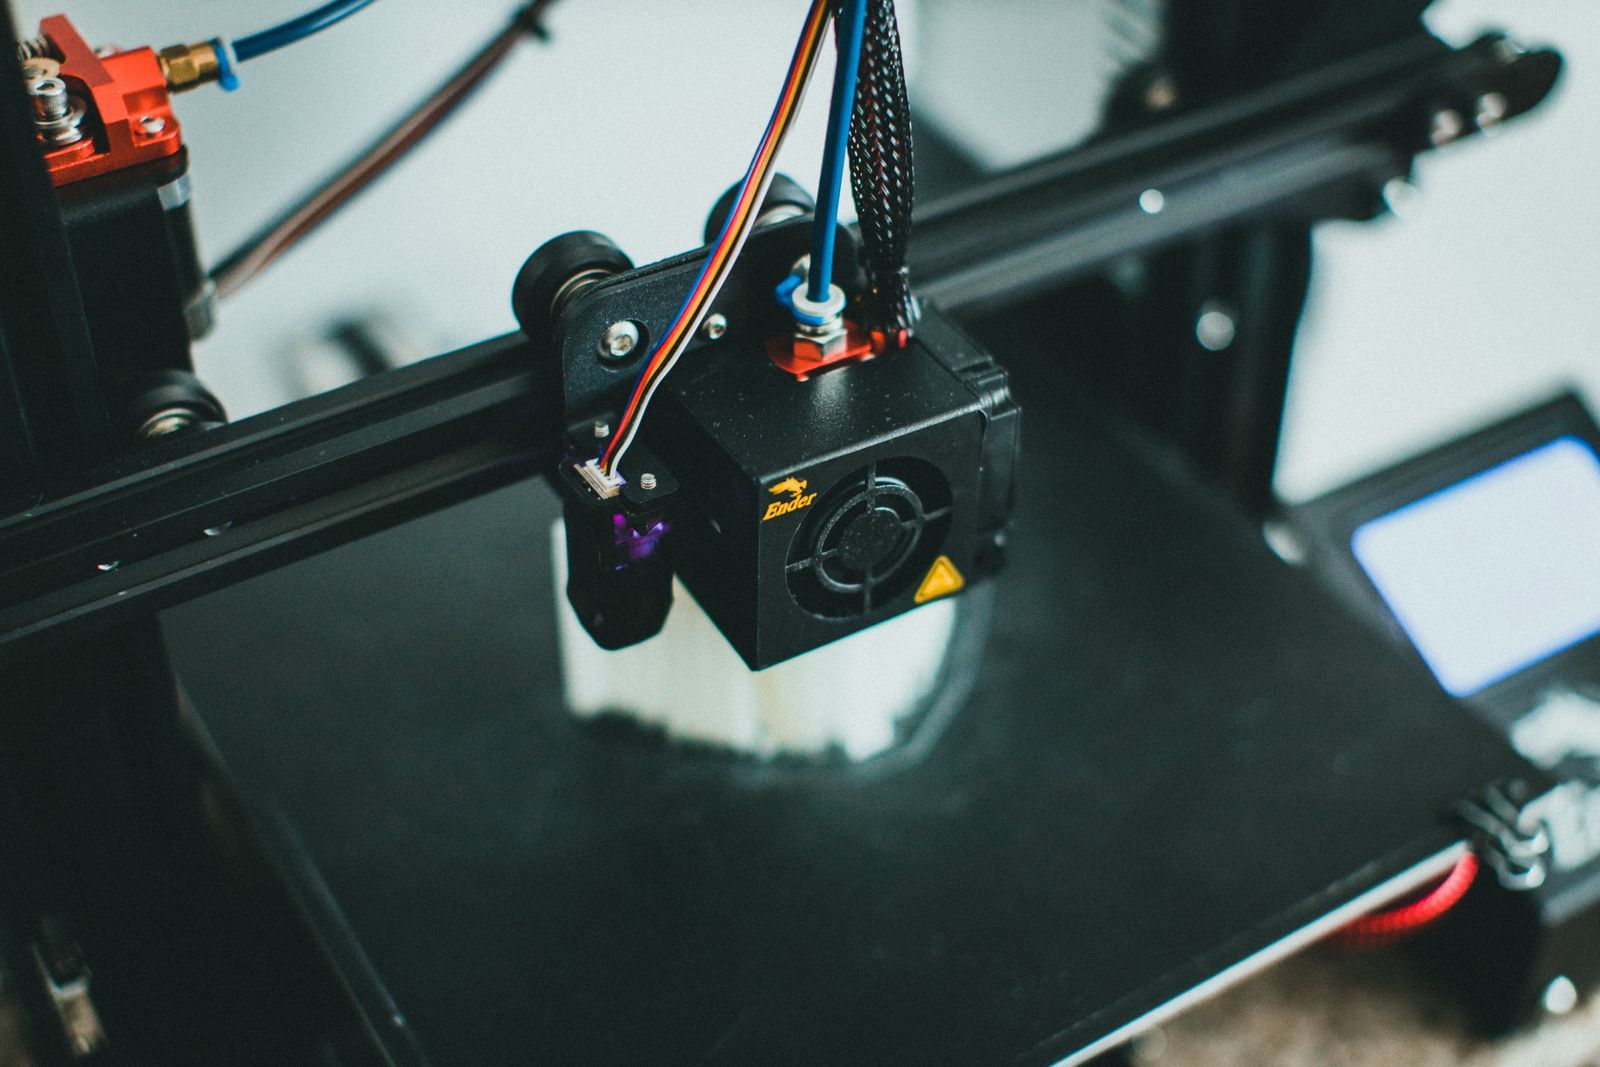
Link one: design, where your idea becomes a solid
The design link splits by what you are making, and the full treatment lives in our guides to designing 3D prints and to 3D printing modeling. The summary version: Tinkercad (free, in the browser) builds first models from combined shapes and teaches solid thinking in an afternoon. Autodesk Fusion is the parametric step up: dimensions, constraints, and a history timeline, free as a Personal license for qualifying non-commercial use, and $680 a year commercially. Blender (free, open source) sculpts the organic shapes CAD cannot: miniatures, characters, and anything that looks grown rather than machined. FreeCAD is the fully free parametric option for people who want CAD without a vendor's license terms attached. Every one of these exports the STL or 3MF file the next link consumes.
Link two: slicing, where the print is actually decided
Experienced printers will tell you the slicer matters more than the modeler, because the slicer decides layer height, supports, seams, speeds, and temperatures: the difference between a clean part and a spaghetti incident is usually sliced, not designed.
For FDM, the free bench is embarrassingly strong. PrusaSlicer is the craftsperson's choice, with meticulously tuned profiles that owners of many printer brands use as their daily driver. OrcaSlicer is the tuner's choice, built around calibration: flow, pressure advance, and measured dialing-in of a specific machine and filament. UltiMaker Cura is the veteran, with the deepest bench of community profiles and plugins. Bambu Studio wraps the experience around Bambu Lab hardware and its model library, and feels effortless precisely because it narrows the world to one ecosystem. All four are free. Pick by your printer and temperament, not by anyone's ranking, and learn one deeply rather than sampling all four forever.
For resin, the workflow differs in kind: parts are hollowed to save resin and reduce suction forces, supports are denser and more strategic, and orientation is a structural decision. Lychee Slicer and Chitubox are the standard free starting points, with pro tiers that add automation and libraries. The free tiers print fine; the paid tiers save time at volume, which is the correct frame for every upgrade in this chain.
Link three: repair, the unglamorous link that saves prints
Downloaded and home-made models arrive with flipped normals, holes, non-manifold edges, and walls thinner than a nozzle can print. Modern slicers repair common faults silently on import, which covers most real-world breakage. When a file defeats the slicer, standalone repair through mesh tools, or re-exporting from the modeler with solid settings, closes the gap. The habit that prevents most repair work: design watertight from the start, check wall thickness against your nozzle (a 0.4 mm nozzle wants walls that are multiples of its line width), and scale in the slicer, not by stretching the model in the design tool, so dimensions stay honest.
The one paid upgrade, priced and justified
For most home printers, the entire chain above costs $0 forever, and the correct paid spend is filament. The upgrade that earns its price is Fusion Commercial at $680 a year, and it earns it at a specific moment: when your prints start generating revenue, through a shop, a product business, or client work, and the Personal license's non-commercial terms and limits (including its cap of 10 active editable documents) stop fitting your life. The arithmetic is simple: $680 a year is about $57 a month, so a print business clearing that in margin buys its legitimacy and its headroom with the first small batch of each month. Before that moment, Fusion Personal is not a trial you endure; it is the professional tool, free, with terms you should actually read, because the license, not the feature list, is what changes at the paid tier.
The resin equivalent is a slicer pro tier, justified when you print often enough that auto-support and batch features return their price in saved evenings. Both upgrades share the correct trigger: volume and revenue, not curiosity.
FDM versus resin: the software differences that matter
The printer type changes the chain's emphasis. FDM design rewards mechanical thinking: tolerances for parts that must fit, orientation for strength along layer lines, and slicer settings dominated by temperature, retraction, and support placement. Resin design rewards sculptural thinking and drainage: hollow forms need drain holes, supports leave marks that placement must hide, and the slicer work is orientation and support strategy more than temperature craft. A maker with both machines runs, sensibly, two chains: CAD plus PrusaSlicer or OrcaSlicer on the filament side, Blender plus Lychee or Chitubox on the resin side, sharing only the design fundamentals. Budget guides that promise one app for everything are selling the map, not the territory.
The fourth link: printer-side software
Beyond the chain sits the software that runs and hosts the machine itself. Many printers accept files from a card or USB stick and need nothing more. Networked printing hosts, of which OctoPrint is the famous open source example, add remote monitoring, print queues, and camera feeds, and Klipper-style firmware shifts motion computation to a host computer for speed and input shaping on supported machines. None of this is required to start, and all of it is free or open source at the level hobbyists use. Add it when a named annoyance appears: walking to the garage to check a print, failed prints discovered hours late, or print quality limits you have traced to the stock firmware. The chain in this guide gets objects printed; the fourth link makes printing pleasant at volume.
Related guides
This decision rarely stands alone. The guides below cover the closest questions on the chart, each with prices checked on the vendor pages.
Frequently asked questions
What software do I need to start 3D printing today?
Two things: a modeler and a slicer, both free. Start with Tinkercad in the browser for your first designs (or download models to learn the printer first) and your printer maker's profile in PrusaSlicer, OrcaSlicer, Cura, or Bambu Studio for FDM, or Lychee or Chitubox for resin. The complete starting chain costs $0.
What is the difference between a modeler and a slicer?
A modeler creates the object as a 3D solid or mesh and exports a file like STL or 3MF. A slicer converts that file into the layer-by-layer movement and extrusion instructions (G-code or a printer-specific format) your machine executes, applying your settings for layers, supports, and temperature. You always need both; they are links in one chain, not alternatives.
Is Fusion really free for 3D printing?
For qualifying non-commercial use, yes: the Personal license is free, renewable in three year terms, for users earning under about $1,000 a year from the work, with limits such as 10 active editable documents. When printing becomes a business, the Commercial license at $680 a year is the honest route, and it is the one paid upgrade this guide endorses.
Which slicer is best for beginners?
The one with the best profile for your exact printer. In practice that means Bambu Studio for Bambu Lab machines, PrusaSlicer for Prusa machines and a wide range beyond, Cura for the long tail of community-supported printers, and OrcaSlicer when you catch the calibration bug. All are free, so let your printer model decide.
Why do my downloaded models fail to print?
Usually the file, not the printer: non-manifold geometry, walls thinner than your nozzle can lay down, or a model designed for looks with no thought to orientation and supports. Your slicer's built-in repair fixes common faults on import; the rest is wall thickness and orientation, covered in the repair section above.
Do I need different software for a resin printer?
The design tools carry over, but the slicer changes: resin uses Lychee Slicer or Chitubox rather than the FDM slicers, because hollowing, drain holes, and dense support strategy are resin-specific jobs. Budget the learning curve for orientation and supports; in resin, they decide success more than any setting on the machine.
Photo credits: Jonathan Cooper (Pexels). Photos are served from this site; follow the credit to the library page for the original.